Leather furniture is an investment that adds a touch of luxury and elegance to any room. However, over time, leather can wear out due to daily use, pet scratches, spills, or general aging. The good news is that leather furniture is repairable, and with the right tools and techniques, you can restore its beauty and extend its lifespan.
This guide will teach you how to repair leather furniture, from assessing the damage to using the best repair kits. If you are dealing with small scratches or a larger tear, this guide has you covered. By following these steps, you can restore your leather furniture to its former glory and save money on costly replacements.
Step 1: Assess the Damage
Before you can repair leather furniture, it’s essential to assess the type and extent of the damage. The first thing you need to determine is the specific issue you’re dealing with. The most common types of leather damage include:
- Scratches and Scuffs : Minor surface damage caused by pet claws, furniture movement, or general wear.
- Tears or Rips : Larger damage that might occur due to an accident, heavy use, or sharp objects.
- Cracks or Fading : Leather tends to dry out over time, leading to cracks or faded areas, often caused by sun exposure or lack of proper care.
- Stains or Discoloration : Spills, dirt, or food can stain leather, leaving unsightly marks.
Once you identify the issue, gather the necessary tools and materials for the repair process.
Step 2: Clean the Leather
It’s crucial to clean the leather thoroughly. Cleaning ensures that no dirt is trapped inside the repair materials, which could worsen the damage. Follow these steps:
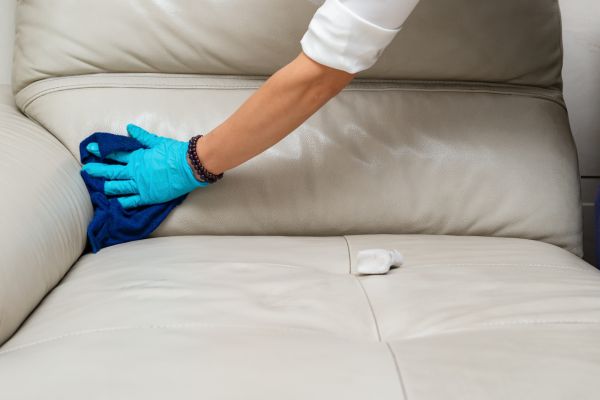
- Dust Off : Start by dusting off the surface of the leather with a soft cloth or a vacuum cleaner with a brush attachment.
- Clean with Leather Cleaner : Apply a leather cleaner to a soft cloth and gently clean the entire surface of the leather. Make sure to use a cleaner that’s specifically designed for leather, as household cleaners can damage it further.
- Dry the Surface : Allow the leather to air dry completely before starting any repairs. Do not use a hairdryer or direct heat, as this can cause the leather to crack.
Step 3: Repairing Minor Scratches and Scuffs
For minor scratches and scuffs, you can usually fix them yourself without needing a professional. Here’s a simple method to repair these types of damages:
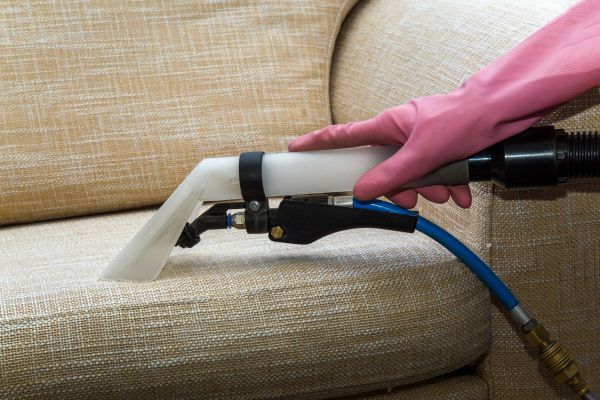
- Leather Repair Cream or Balm : Choose a leather repair cream or balm that matches the color of your furniture. Apply a small amount of the cream to a soft cloth and gently rub it into the scratched area.
- Buff the Area : After applying the cream, use a clean, dry cloth to buff the area gently. This will help smooth out the leather and restore its shine.
- Allow to Dry : Let the repaired area dry for a few hours. Leather repair creams and balms typically dry quickly, but it’s best to wait for a few hours before using the furniture again.
For deep scratches, consider using a specialized leather repair product that comes with a touch-up pen to fill in the scratches more precisely.
Step 4: Repairing Tears or Rips
Tears or rips in leather can be more challenging to repair, but with the right strategy, you can fix them yourself. Here’s how:
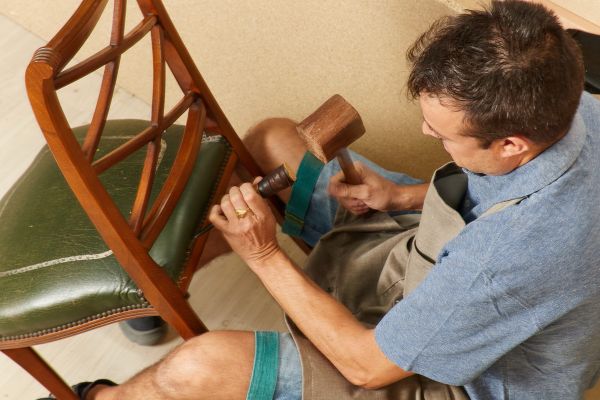
- Prepare the Area : Clean and dry the damaged area thoroughly. If the tear is jagged, trim the edges to make them neat using sharp scissors.
- Leather Repair Patch : Purchase a leather repair patch that matches the color and texture of your furniture. These patches are often included in leather repair kits. Cut the patch to fit the tear, leaving a small border around the edges to ensure a secure bond.
- Apply the Adhesive : Apply the adhesive or glue provided in the leather repair kit to the back of the patch. Follow the instructions carefully to ensure a strong bond.
- Place the Patch : Position the patch over the tear and press it down gently. You can use a flat object, such as a spoon or a small roller, to smooth the patch and ensure that it adheres well.
- Let It Dry : Allow the patch to dry completely for at least 24 hours. Once dry, gently rub the patched area with a soft cloth to blend the edges with the rest of the leather.
For larger tears, you may need to use a filler compound in addition to the patch. Some leather repair kits offer a filler that can be applied to the tear before attaching the patch.
Step 5: Repairing Cracks and Fading
Leather can dry out over time, leading to cracks or fading. Fortunately, there are ways to refresh and restore leather’s appearance:
- Use a Leather Conditioner : Apply a high-quality leather conditioner to the cracked or faded areas. Leather conditioners help moisturize the material, preventing further cracking and restoring flexibility. Be sure to choose a product that’s appropriate for your leather type.
- Apply the Conditioner : Use a clean cloth to apply the conditioner evenly over the entire surface, focusing on areas that are particularly cracked or faded. Work the conditioner into the leather with gentle, circular motions.
- Allow to Absorb : Let the conditioner sit for 10 to 15 minutes, then wipe away any excess with a clean cloth. Allow the leather to air dry completely.
- Repeat as Needed : Depending on the severity of the cracks or fading, you may need to repeat this process several times to fully restore the leather.
For severe cracking or fading, you may need to use a leather dye or a specialized repair product to restore the color and finish.
Step 6: Repairing Stains and Discoloration
Stains on leather can be tricky, but with the right cleaning solutions, they can often be removed. Here’s how to tackle stains:
- For Water Stains : Use a soft cloth to gently blot the stained area, removing as much water as possible. Avoid rubbing, as this can spread the stain. Once the area is dry, apply a leather conditioner to restore the moisture.
- For Oil or Grease Stains : Sprinkle a small amount of cornstarch or talcum powder over the stain. Let it sit for several hours to absorb the oil, then wipe it off with a clean cloth.
- For Ink Stains : Dab the ink stain with a cotton ball soaked in rubbing alcohol. Be very careful not to rub the stain, as this can cause it to spread. Once the stain begins to lift, clean the area with a damp cloth and apply a leather conditioner afterward.
Tips for Maintaining Leather
Once you’ve repaired your leather furniture, it’s important to take steps to prevent future damage. Here are some tips for maintaining leather:

- Regular Cleaning : Clean your leather furniture regularly using a soft cloth and leather cleaner. This helps prevent dirt and grime buildup, which can cause long-term damage.
- Conditioning : Use a leather conditioner every 3 to 6 months to keep the material supple and prevent cracking. If you live in a dry climate, you may need to condition your leather more frequently.
- Avoid Direct Sunlight : Leather can fade and dry out when exposed to direct sunlight for extended periods. Position your furniture away from windows or use curtains to shield it from sunlight.
- Keep It Dry : Leather is sensitive to moisture, so keep it away from water sources. If your furniture gets wet, dry it immediately with a soft cloth.
- Protect from Pets : Pets can cause significant damage to leather, especially with their claws. If possible, keep pets off the furniture, or use a protective cover.
Learn more : How to Emboss Leather? | Transform Ordinary into Extraordinary
FAQs | How to Repair Leather Furniture
Q.1 Can I repair leather furniture myself?
Yes, many leather furniture repairs can be done at home with the right tools and materials. Small scratches, scuffs, and tears can often be fixed with leather repair kits.
Q.2 How do I know if my leather furniture is too damaged to repair?
If the leather is excessively cracked, torn beyond repair, or deeply stained, professional repair services may be necessary. Minor scratches and fading can typically be repaired at home.
Q.3 What is the best product for repairing leather furniture?
Leather repair kits, which usually include patch material, adhesives, and colorants, are the best tools for fixing leather furniture. Look for products that match your furniture’s color and texture.
Q.4 Can leather repairs be done on any type of leather?
Yes, most types of leather can be repaired, but the methods and products used may vary depending on whether the leather is full-grain, top-grain, or bonded. Always check the product instructions for compatibility.
Q.5 How often should I condition my leather furniture?
It’s recommended to condition leather furniture every 3 to 6 months. If you live in a dry climate, you may need to condition it more often to maintain its softness and prevent cracking.
Q.6 Can I repair leather myself, or should I hire a professional?
You can repair minor leather damage yourself using kits or home remedies. For severe damage, like large tears or deep cracks, a professional may be needed to restore the leather properly.
Q.7 What types of damage can be repaired on leather?
- Scratches and scuffs
- Cracks and splits
- Tears and holes
- Fading and discoloration
- Stains and water damage
Q.8 What materials do I need for DIY leather repair?
- Leather cleaner and conditioner
- Leather repair kit (includes filler and colorant)
- Soft cloths and sponges
- Sandpaper or fine-grit pads
- Adhesive for tears (optional)
- Leather glue or patch for large holes
Conclusion | How to Repair Leather Furniture
Learning how to repair leather furniture yourself can save you both time and money. If you’re fixing minor scratches, repairing larger tears, or tackling fading and discoloration, the steps outlined in this guide will help you restore your leather furniture to its original beauty.
Remember, with the right care and maintenance, your leather pieces can continue to look luxurious and durable for years to come. If the damage is too extensive, don’t hesitate to seek professional help. With proper repairs and preventive care, your leather furniture can remain a beautiful and functional part of your home for many years.
Also read : How to Repair a Leather Couch | Leather Couch Repair Made Easy

